


Shade Sails - Made Different
Not all shade sails are created equal
The shade sails manufactured by Shadeform are one of a kind, developed from years of experience with yacht sail making.
Brothers Mark and Wayne Soulsby have used their specialised experience making world class yacht sails, to develop one of the most beautiful shade sails available today. With over 30 years of experience, Shadeform have settled on a unique design that incorporates 12 different stages of design and construction. Combining the very best materials, along with tried and tested manufacturing methods, it is safe to say that a Shadeform sail is unlike any other.
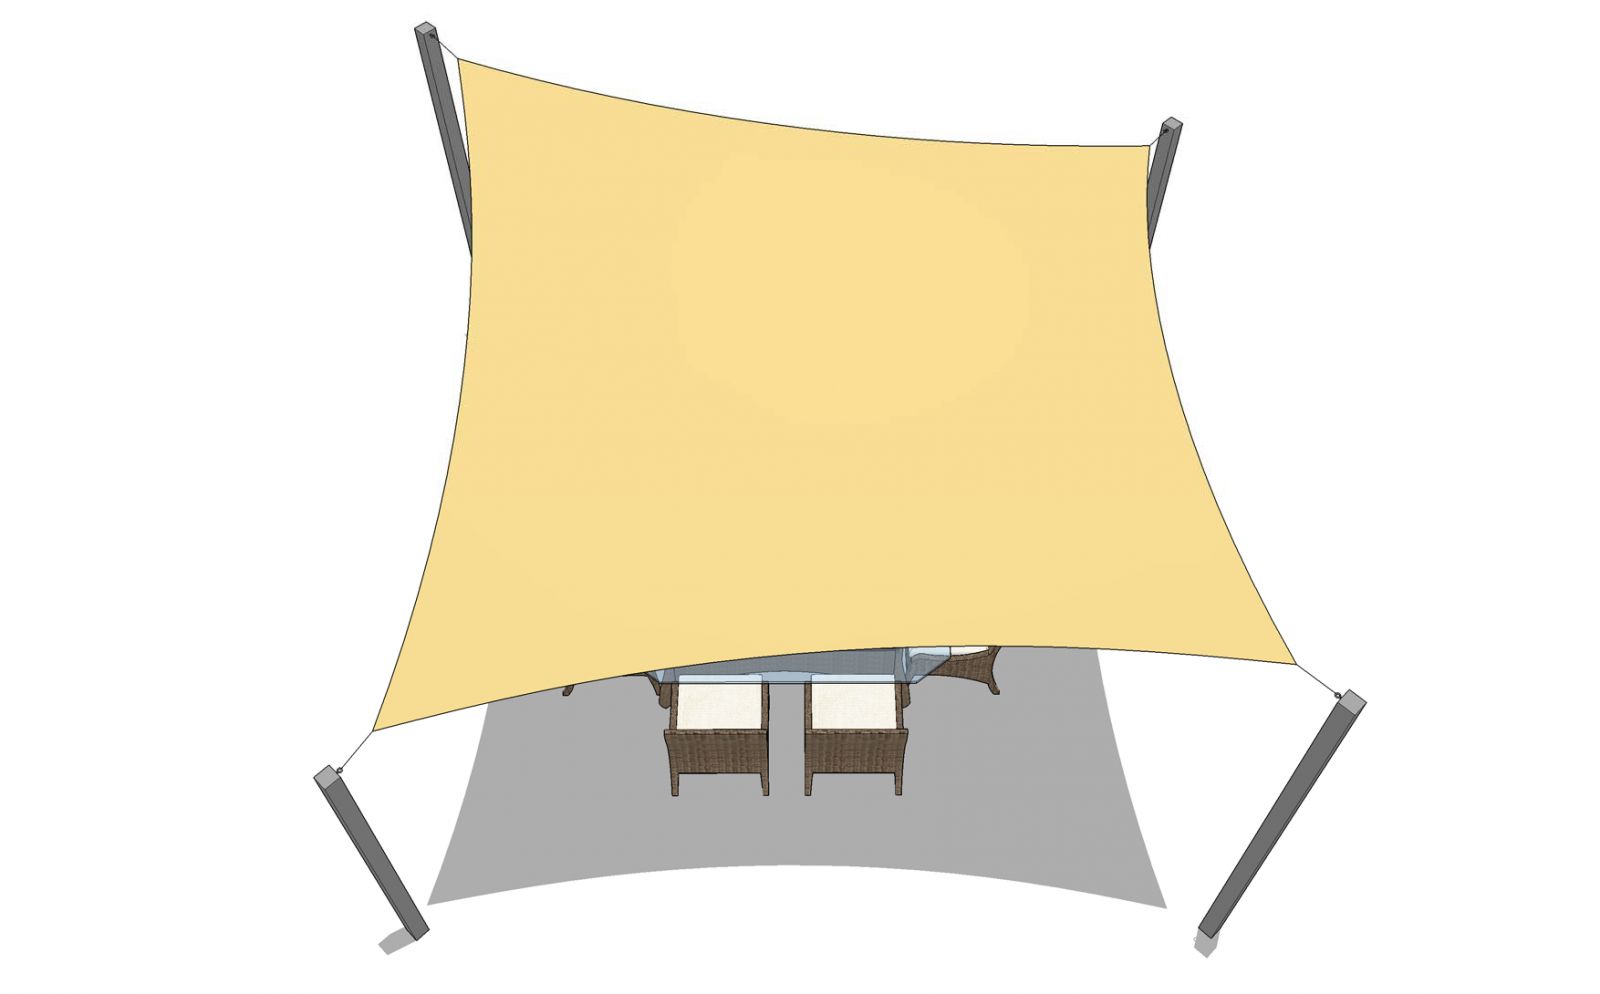
.jpg)
A textbook example of a shade sail
What makes Shadeform Unique?
If you would like to learn more about "The Shadeform Way" of crafting shade sails, the following is a short article discussing these practices. Learn insider tips on sail manufacturing and get a feeling for how a professional shade sail is made.
12 Step Design and Manufacturing Process
Installing a shade sail might seem like a simple project, but there is actually quite a lot involved. Creating the best shade possible usually takes multiple designs, a lengthy consultation, and sometimes even a follow up appointment. Shadeform is always thorough in these initial planning stages. This ensures that all details are well covered.
Step 1) Thorough Site Evaluation
Shadeform will send out one of our shading specialists, who will come to your home or business and perform an in-depth assessment of the area. By talking to you directly we gain an exact understanding of what you want out of your shade. Taking into consideration your requirements, Shadeform's design experts will transform concept ideas into a fully developed shade design.
Step 2) Preliminary Sketches - An Architectural element
Your design doesn't just stop there! An often overlook step in the sail manufacturing process is to create multiple concept designs, and explore all available options. Shadeform's in-house design and draftsman team can provide 2D plan drawings and 3D sketches. These drawings give you a better overall picture of your proposed design.
This service is typically available for a nominal fee and provides clients with the assurance that their shade will be exactly how they want it.
Step 3) Construction - Post and Fixing Installation
Next up is the first phase of the construction process - the installation of all posts, brackets, and fixings. Depending on the chosen layout, a certain number of posts will be installed - including concrete footings. Shadeform use substantial post and footing sizes, designed using standard engineering details. Also, Shadeform's fixing options are plentiful, allowing attachment to wooden fascias, rafters, brick walls, concrete structures, and more. These fixings are engineered and made from the very best marine grade stainless and galvanized steel.
Step 4) Measurements
Once all the posts and fixing points are installed, the next step is to take the sail measurements. By doing this after post and fixing installation, we can take exact dimensions from point to point. Having exact measurements allows us to make the sail with high precision, ensuing it will fit nicely once installed. This provides even tension across the sail which minimizes sail sag and puckering.
It is important to take exact measurements in 3D, as it only takes a few centimeters to be out. If the measurements are incorrect the sail won't look quite right, once installed; and it may even weaken in strength. Worst case scenario is having to throw away the sail and start again!
Step 5) Sail Design
The measurements of your shade are delivered to the lead sailmaker and sail manufacturing begins. The sail measurements go through another final check, this time using a computer program to ensure accuracy. Every Sail is designed in 3D with specialised computer software, and then divided up into a series of 2D panels ready to be machine cut to high tolerances.
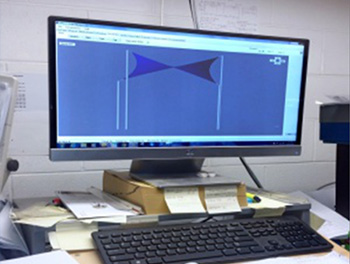
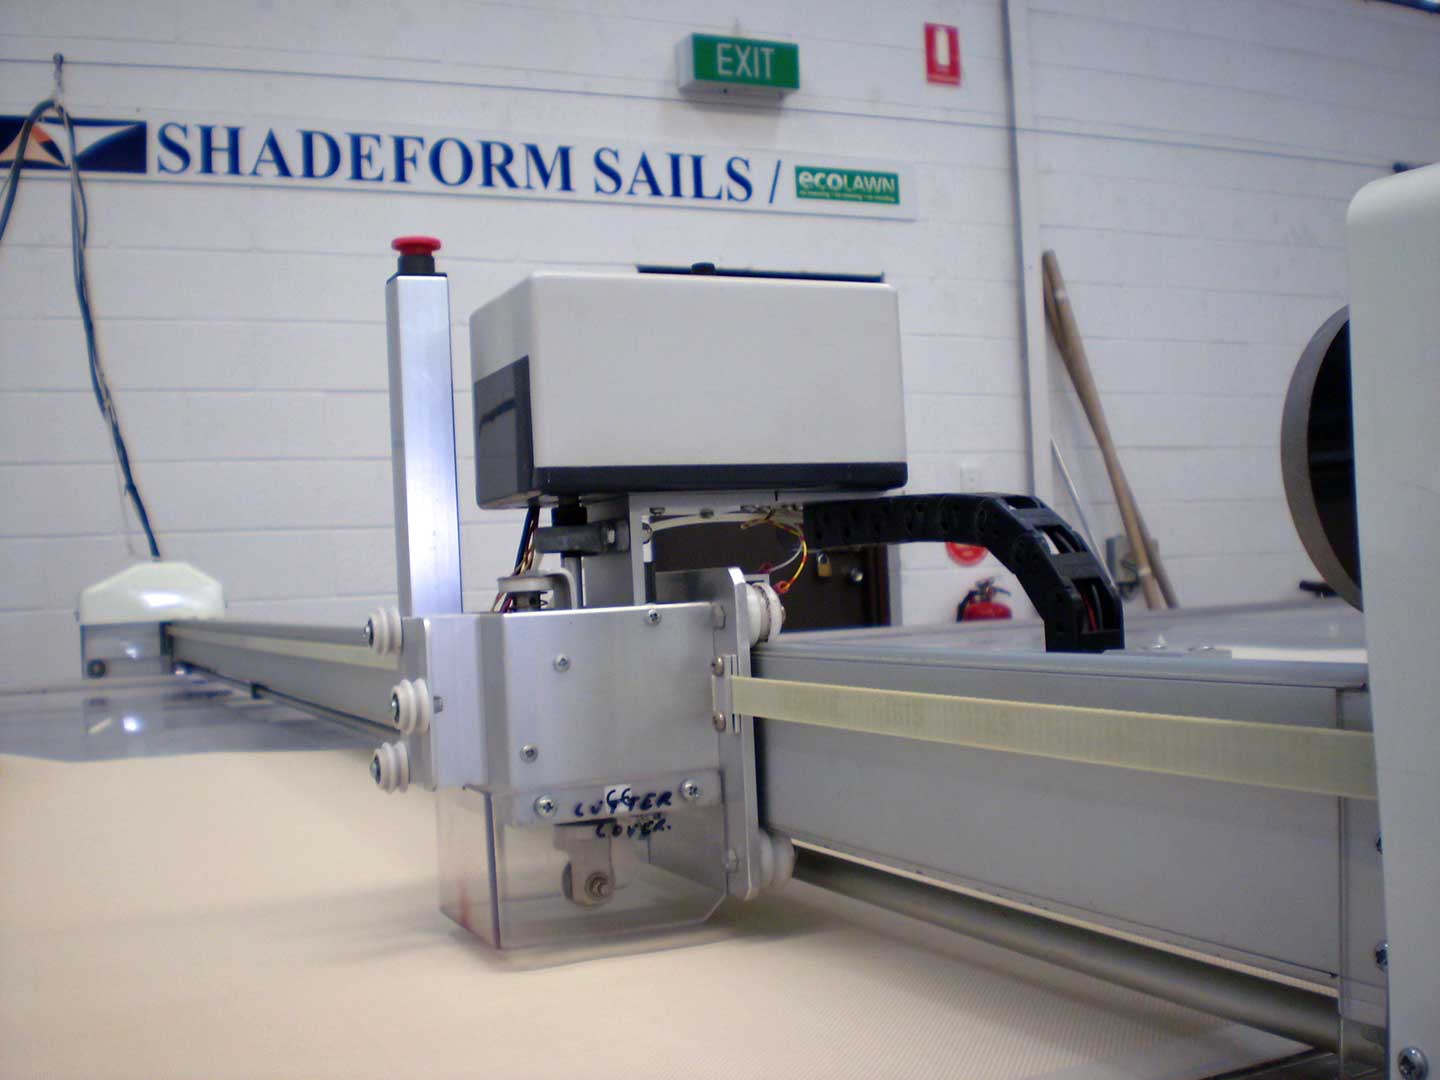
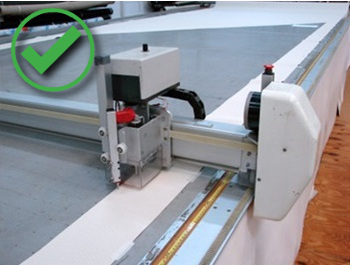
Step 6) Machine Cut
The computer software exports the panel tracing pattern to the plotter table, and then the sail panels are automatically cut to size. This simple but vital step ensures that the sail is made with high accuracy.
The proprietary software is so precise that even the variance in warp and weft of fabric is accounted for.
How this works is that some fabrics have a different 'stretchiness' in the horizontal direction, compared with the vertical. This makes the sail stretch more in one direction when pulled out tight. The plotter software takes these differences into consideration, and then varies the 2D cut panel sizes accordingly, so they fit in 3D.
Step 7) Sew or Weld Panels
Depending on the type of material, all panels are sewn or high frequency welded together. Using heat welding or industrial sewing machines, each join is made stronger than the fabric itself. A good eye and a steady hand is required during this process, something that only comes with many years of practice.
8) Triple Reinforced Corner Patches
Each corner is reinforced with a triple layer of fabric, a unique design step used at Shadeform. This improves the strength of the sail in each corner, which would otherwise be a weak spot. Spreading the load like this increases overall strength, minimizes the chance of sail deterioration, and it increases expected lifetime.
9) Stitching Thread - Lifetime warranty
Using a special PTFE thread, that comes with a lifetime warranty, the chances of your sail edges coming undone are virtually zero. The thread that lines your shade sail is actually made from the same material that mountaineers use for their survival gear. With a resistance to UV breakdown and a high tension strength, the PTFE thread used in Shadeform's shade sails is the best available.
10) Stainless Steel Wire Edges, Fixings and Fittings
All edges of the sail are folded over and hemmed to create an edge pocket. A marine grade 316 stainless steel wire is inserted into each of these pockets, another critical step in the sail manufacturing process. These wires are individually cut and swaged so each sail edge has the exact tension needed once pulled up. The last step is to sew stainless D-rings into each corner of the sail, or corner plates for larger sails, and attach chain, shackles, or turnbuckles for fixings. The final result is a strong sail that doesn't flap in the wind, and stays up for many years to come.
Step 11) Sail Fitting
On our third and final visit, Shadeform will install the sail. Having an expert installation team who is specialised in these jobs, ensures the shade fits nicely and is put up without incident. Once you are completely happy with your new sail, Shadeform will perform a last minute clean up and answer any questions you may have.
Step 12) Ongoing maintenance and upkeep
Shade Sails that are properly designed and manufactured have very little ongoing maintenance. Having said this, performing regular maintenance is not a bad thing to do. You can do this yourself or you can get Shadefrom to do it for you. Standard detergent or 303 Spot Cleaner work well as cleaning products. You can use a high pressure hose (at distance) or a strong garden hose and nozzle. The recommended frequency of upkeep will depend on how dirty your area is. Typically most shades require a thorough clean a couple times a year.
The Final Result
Here is how your shade sail should look once completed:
Notice the different elements of a well made shade sail?
They include:
1) Hypar sail shape with alternating high and low posts
2) High quality design and fabric, ensuring minimal puckers
3) Individually swaged wire edges that help keep even tension throughout the sail
4) Reinforced corner patches to strengthen weak spots
5) Long lasting stainless steel fixings and fittings
6) Large concrete pier footings with square hollow section
7) Galvanized steel posts (powder coated)
How to spot a poorly constructed a shade sail
There are many types shade sails on the market, some not as good as others. It is important to avoid these types of shade sails. Unfavorable design and manufacturing processes will cause more issues than they solve. Here are just a couple examples of how a shade sail should look, and how it should not...
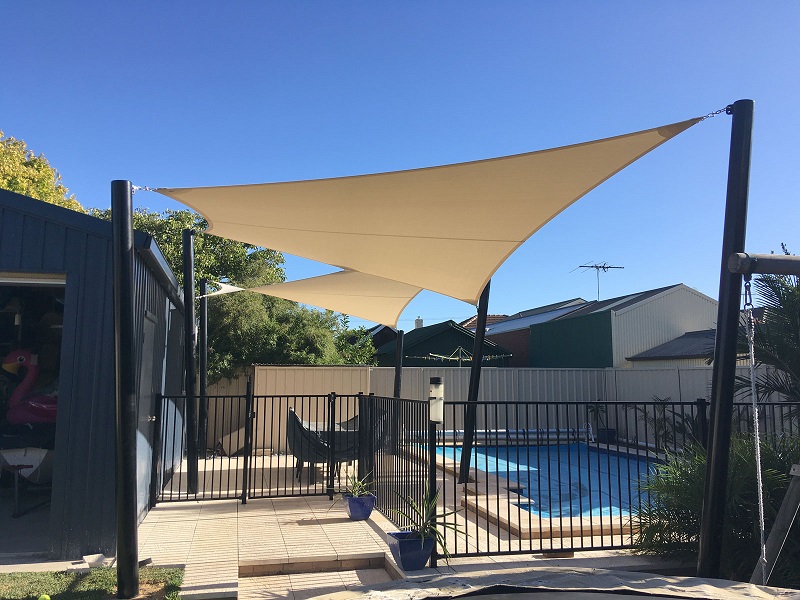
This isn't the most ideal design for a shade sail:
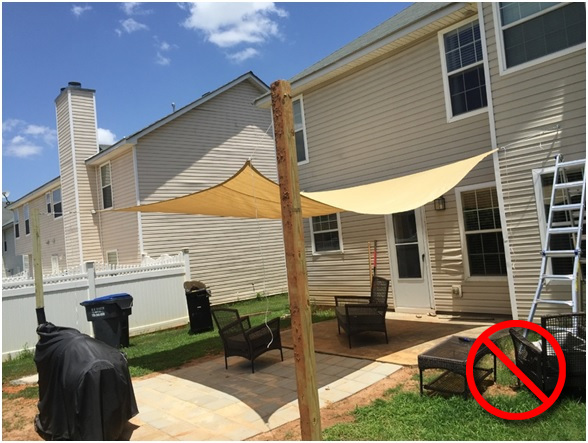
Sagging or wrinkled sails are never a good sign:

This is much better:
2.jpg)
Computer cut panels have a much greater accuracy than hand cut sails, the different methods are shown below:
.jpg)
Large fixings made from quality steel are quite a lot safer and have less breakdowns. Here you may also spot Shadeform's individually swaged stainless steel wire edges:


.jpg)
If you would like more information about our products and services, call Shadeform today on 08 8354 2116 or email us at enquiries@shadeform.com.au to discuss your new project. We at Shadeform strive to create the very best in shade and outdoor design.